How to Create Instagram Post Graphics for Free (2026 Guide)
You don't need expensive software or design skills to create scroll-stopping Instagram posts. With ClearUtil's free online image editor, you can design professional-quality Instagram graphics in minutes — right in your browser, on any device.
In this guide, we'll walk you through the entire process from choosing a canvas size to exporting your finished design.
1 Choose the Instagram Post Canvas Size
Open the ClearUtil Image Editor and you'll see the Canvas Size modal. Click "Instagram Post" to set your canvas to the perfect 1080 x 1080 pixel square format.
Instagram posts perform best as squares (1:1 ratio), though you can also use portrait (1080 x 1350) by entering a custom size.
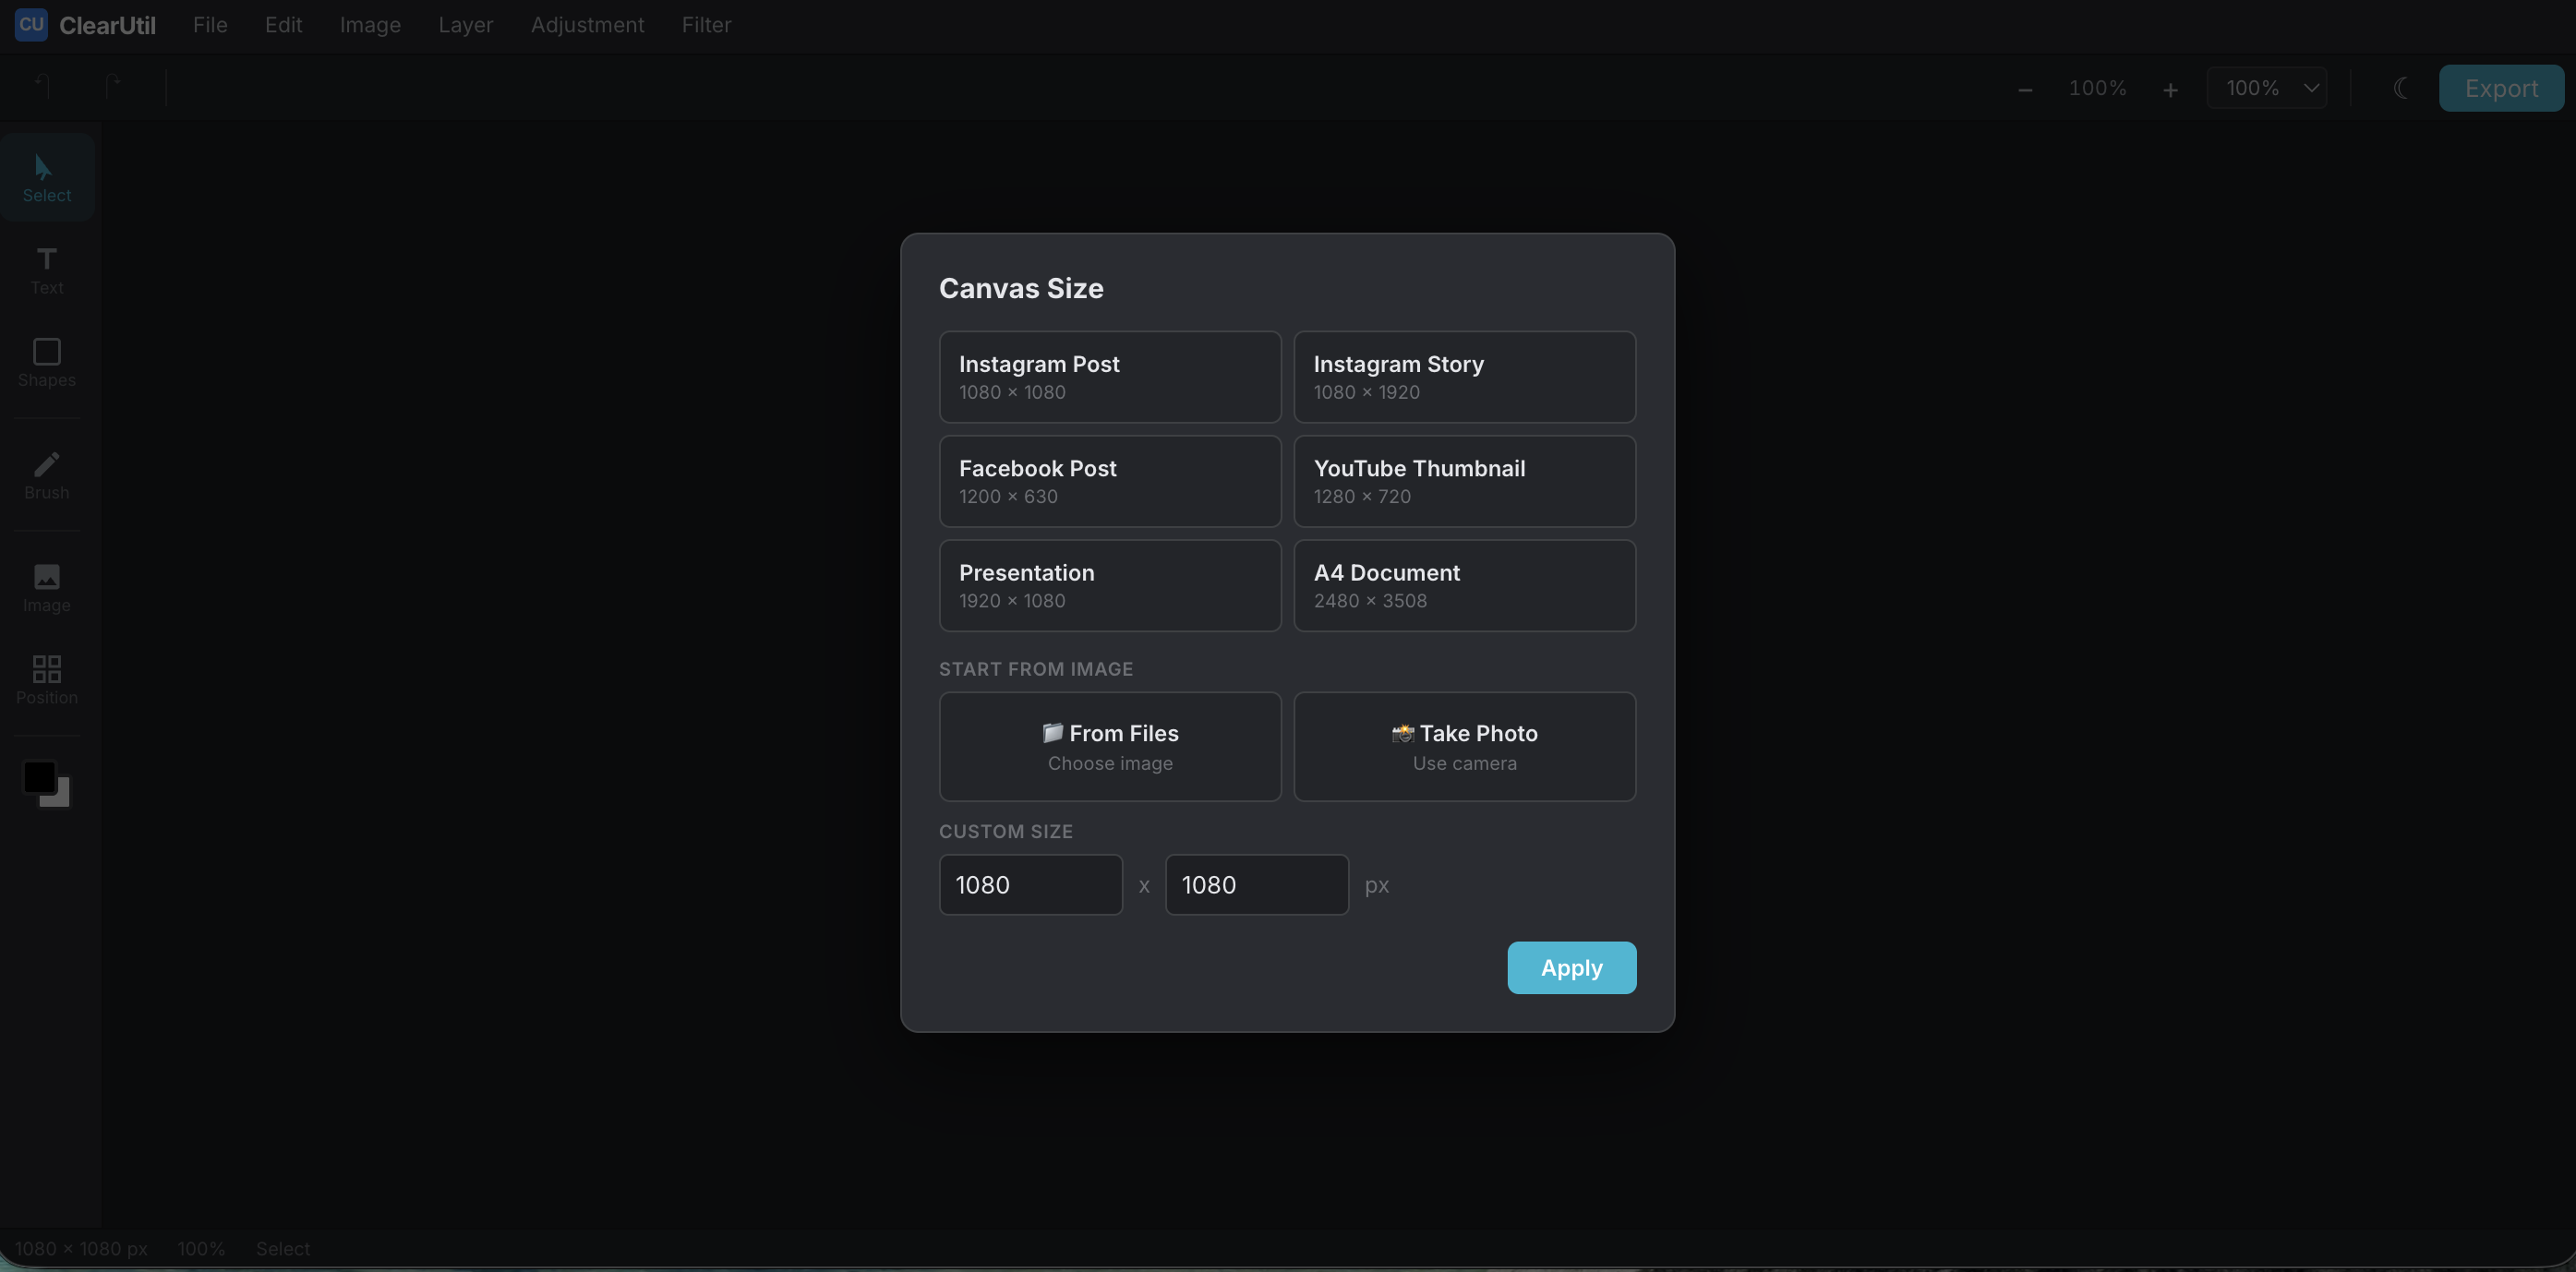
Select the Instagram Post preset for the perfect 1080 x 1080 canvas
2 Add a Background
Start with a solid color background by selecting the canvas and changing its color. Or upload your own photo:
- Click Image in the left toolbar
- Upload a photo from your device, take one with your webcam, or paste from clipboard
- Resize the image to fill the canvas
- Lock the background image so you can work on top of it
3 Add Text and Font Combinations
Click Text to add headings, subheadings, or body text. For a professional look, try the pre-designed Font Combinations:
- Elegant Script Style — perfect for lifestyle and beauty brands
- Bold Headline — great for announcements and promotions
- Modern Minimal — clean look for tech and business
- Sale Event — eye-catching for promotions and discounts
Each font combo moves as one piece. Double-click to edit individual words while keeping each line's unique font style.

Add pre-designed font combinations for instant professional text styling
4 Add Shapes and Elements
Click Shapes to add rectangles, circles, triangles, stars, arrows, or lines. Use shapes to:
- Create colored banners behind text for better readability
- Add borders or frames around your content
- Create simple icons and design elements
Customize each shape's fill color, border color, and border width using the edit bar at the top.
5 Fine-Tune Your Design
Use these features to polish your post:
- Snap guidelines — drag elements near the center and they'll snap into place
- Layers panel — reorder elements by dragging in the Position tab
- Lock objects — prevent accidental edits to background elements
- Opacity — make elements semi-transparent for overlay effects
6 Export Your Instagram Post
When you're happy with your design, click Export in the top-right corner:
- Choose PNG for the best quality
- Select 1x scale for standard resolution or 2x for extra sharpness
- Click Download and your image is ready to upload to Instagram
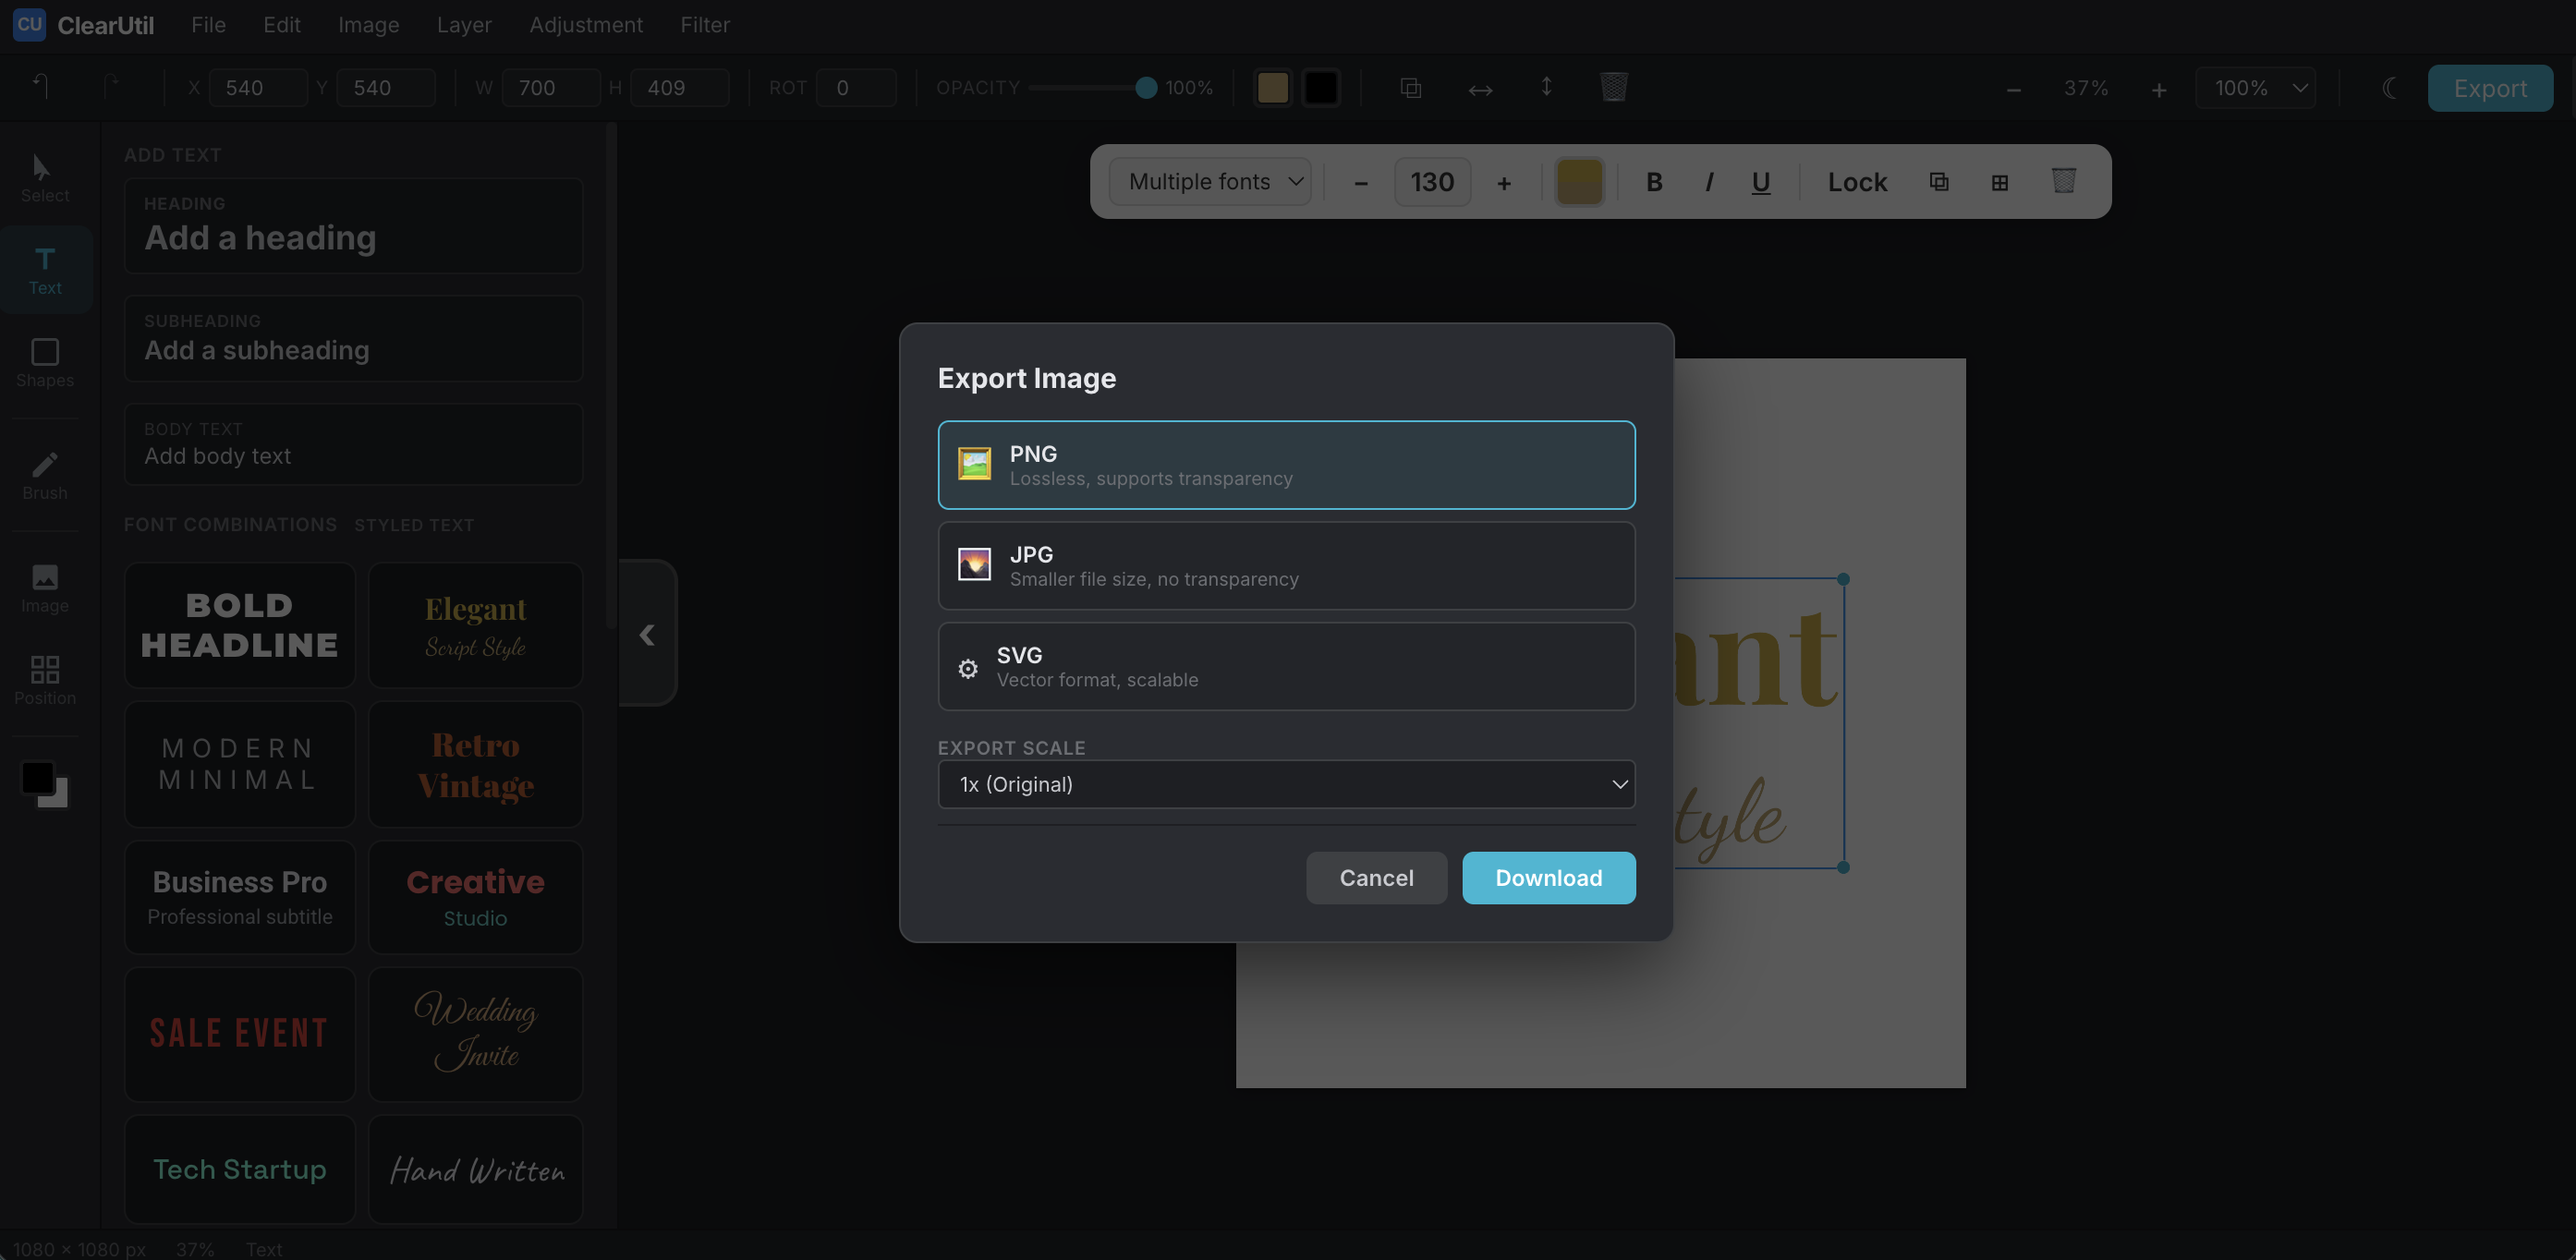
Export your finished design as PNG for the best quality
Ready to Create Your Instagram Post?
Open the free image editor and start designing in seconds. No sign-up required.
Open Image EditorTips for Better Instagram Graphics
- Keep text minimal — Instagram is visual-first. Use short, punchy headlines.
- Use high-contrast colors — make sure text is readable against the background.
- Stay on brand — use consistent fonts and colors across all your posts.
- Leave space — don't fill every pixel. White space makes designs breathe.
- Test on mobile — most people view Instagram on their phones. Preview at small size.